Squarespace is a popular website builder that offers a range of templates to choose from. However, if you want to stand out from the crowd, you may want to create a live demo Squarespace template. A live demo allows potential customers to see your design in action and get a feel for how it works before making a purchase.
Creating a live demo Squarespace template may seem daunting at first, but it’s actually quite simple. By following a few key steps, you can create a template that showcases your design skills and helps you sell more products. However, it’s important to keep in mind that Squarespace only offers a 14-day free trial, which means that your live demo will expire after two weeks. In this article, we’ll explore how to create a live demo Squarespace template and what to do when the trial expires.
If you’re ready to take your Squarespace website to the next level, keep reading. We’ll walk you through the process of creating a live demo template, from choosing the right design to setting up your trial site. We’ll also cover what to do when your trial expires, including how to send your template to customers and how to make sure it’s still accessible after the trial period ends. With these tips and tricks, you’ll be able to create a stunning live demo Squarespace template that showcases your design skills and helps you sell more products.
Understanding Squarespace Templates
Squarespace templates are pre-designed website layouts that users can customize to create their own unique website. These templates are created by Squarespace’s award-winning design team and come in a variety of styles and functions to fit any type of website.
Benefits of Using Squarespace Templates
One of the biggest benefits of using Squarespace templates is that they are easy to use and customize, even for those without any web design experience. Squarespace’s drag-and-drop interface makes it simple to add and edit content, change colors and fonts, and rearrange page layouts.
Another benefit of using Squarespace templates is that they are fully responsive, meaning they will look great on any device, whether it’s a desktop computer, tablet, or smartphone. This is important because more and more people are accessing websites on their mobile devices, and having a mobile-friendly website is essential for reaching a wider audience.
Differences Between Templates
While all Squarespace templates share a similar design aesthetic, there are some differences between them that users should be aware of. Some templates are better suited for certain types of websites, such as portfolios, blogs, or e-commerce sites. Other templates may have more customization options or different built-in features.
It’s important to choose a template that fits the specific needs of your website, while also keeping in mind factors such as aesthetics and functionality.
Related Posts:
- Squarespace SEO
- Stunning Squarespace Website Examples
- How to Resize, Crop and Edit Images in Squarespace
- Best Premium Squarespace Themes
- How to Change Templates in Squarespace
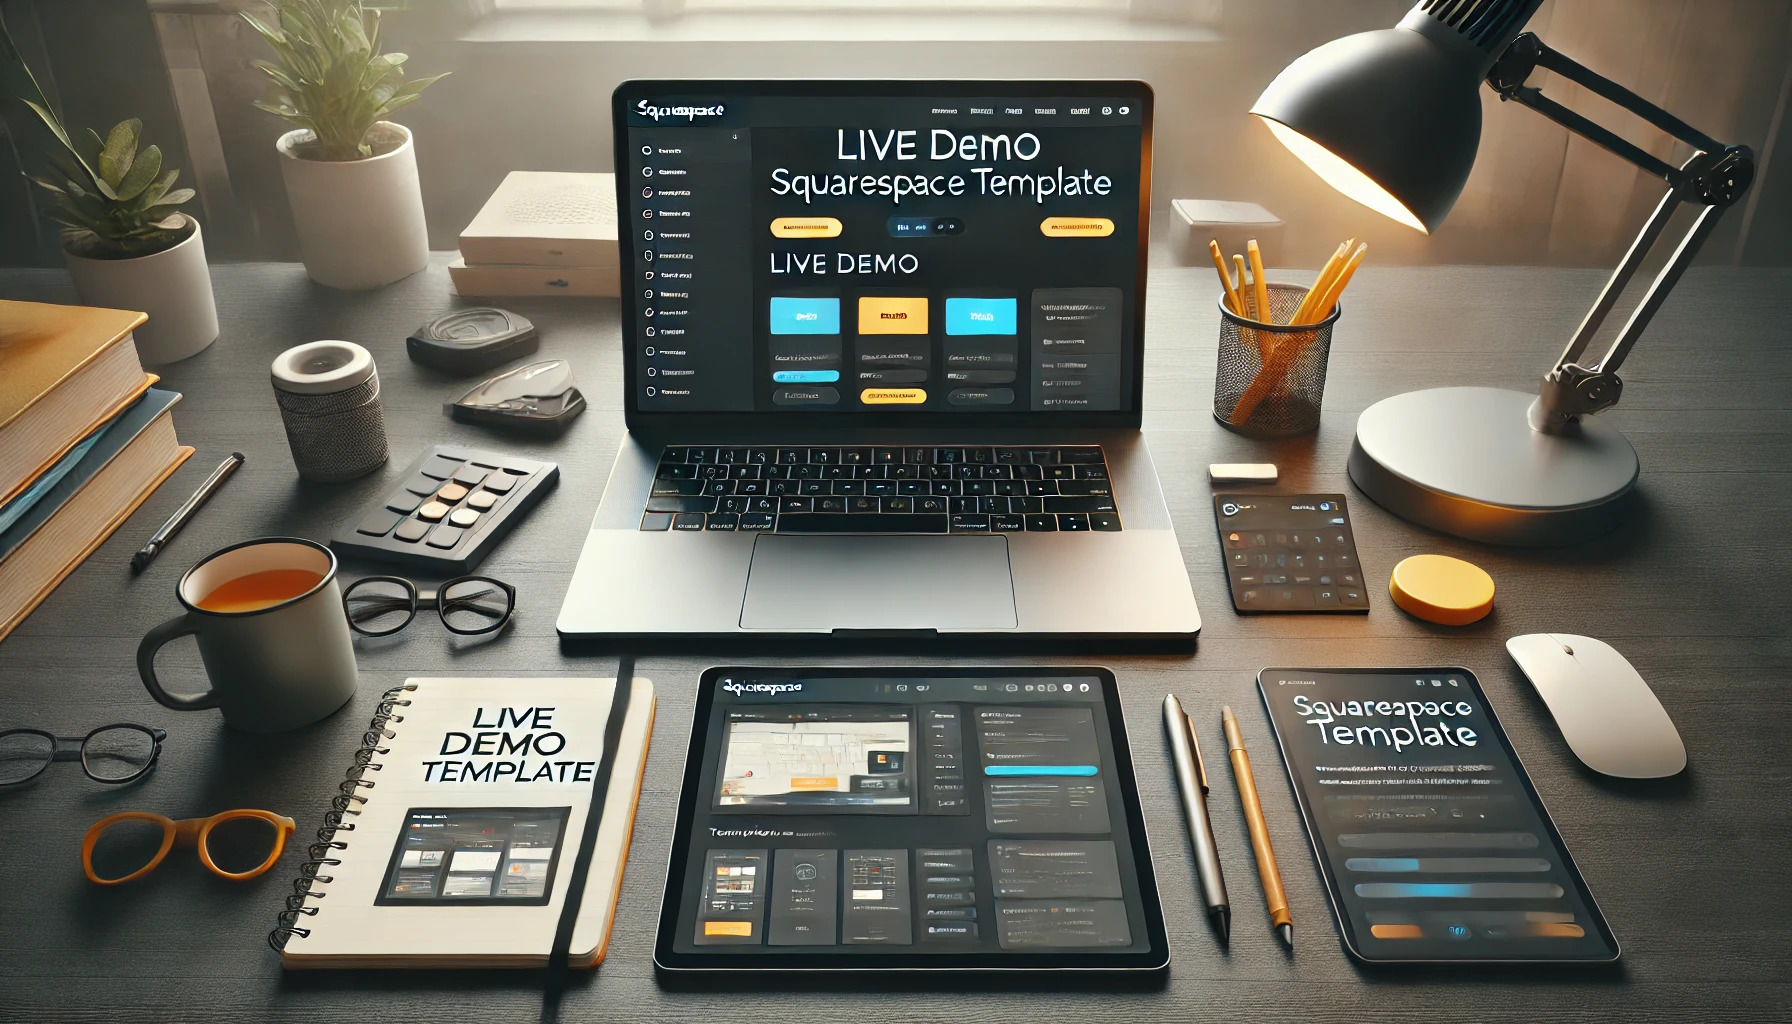
Creating a Live Demo Squarespace Template
Creating a live demo Squarespace template is a great way to showcase your website design skills to potential clients or customers. With a live demo, they can see exactly how your template will look and feel before committing to a purchase. Here are the steps to create a live demo Squarespace template:
Choosing the Right Template
The first step in creating a live demo Squarespace template is to choose the right template for your project. Squarespace offers a variety of templates to choose from, each with its own unique style and features. When selecting a template, consider the type of website you are creating and the features you need. You can preview each template to get a feel for its design and layout.
Adding and Customizing Content
Once you have selected your template, it’s time to add and customize your content. Squarespace comes with pre-loaded demo content, which you can replace with your own images, text, and videos. You can also add new pages, change the font and color scheme, and customize the layout to suit your needs. Squarespace’s drag-and-drop interface makes it easy to create a professional-looking website without any coding knowledge.
Previewing Your Live Demo
After you have added and customized your content, it’s time to preview your live demo. Squarespace offers a free trial period, which you can use to test your template and make sure everything is working correctly. During the trial period, you can share your live demo with potential clients or customers and get feedback on your design. If you are happy with your template, you can upgrade to a paid Squarespace plan to launch your website.
Related Posts:
- How to Customize Your Squarespace Website
- How to Build an Email List in Squarespace
- How to Add a Photo Gallery in Squarespace
- How to Create a Squarespace Favicon
- How to Edit Your Squarespace URL
What Happens When the Trial Expires
After the 14-day free trial, Squarespace users will have to upgrade to a paid account to continue using the platform. If you choose not to upgrade, your account will be downgraded to a Basic Website plan. This means that you will lose access to certain features and functionality, including eCommerce and certain integrations.
Transitioning from Trial to Paid Account
To upgrade to a paid account, log in to your Squarespace account and navigate to the billing section. Here, you can choose a pricing plan that suits your needs. Squarespace offers a variety of pricing plans, ranging from the Personal plan to the Advanced Commerce plan. Each plan comes with its own set of features and pricing, so make sure to choose the plan that is right for you.
What Happens to Your Data
When your trial expires and you choose not to upgrade to a paid account, your account will be downgraded to a Basic Website plan. However, your data will still be saved and accessible. You will still be able to access your website and edit its content, but you will not have access to certain features and functionality.
It is important to note that Squarespace gives users a grace period of four months after the trial ends to upgrade to a paid account. During this time, your content will be safe, but you will not be able to edit it. If you do not upgrade to a paid account within this grace period, your content will be deleted.
Related Posts:
- Squarespace Scheduling: Streamlining Your Appointment Booking Process
- Squarespace Pricing
- How to Offer a Quantity Discount in Squarespace Store
Troubleshooting Common Issues
Resolving Template Issues
While creating a Squarespace template, you may encounter some common issues. Here are some tips to help you resolve them:
-
Layout issues: If you are experiencing layout issues, try refreshing the page or clearing your browser cache. You can also check the Squarespace status page to see if there are any known issues with the platform.
-
Image problems: If your images are not appearing correctly, make sure that they are in the correct format and size. Squarespace supports JPEG, GIF, and PNG formats. Also, check that the image file size is not too large.
-
Broken links: If you have broken links on your site, use the Squarespace link checker to identify and fix them. You can find this tool in the Settings menu.
Dealing with Trial Expiration Problems
If your Squarespace trial has expired, you may be wondering what to do next. Here are some options:
-
Upgrade your plan: If you want to continue using Squarespace, you can upgrade to a paid plan. This will give you access to more features and support.
-
Contact support: If you are having trouble with your trial or need help upgrading, you can contact Squarespace customer support. They can help you with any issues you are experiencing.
-
Start a new trial: If you want to start over with a new trial, you can create a new Squarespace account and start from scratch.
Related Posts: